Filament 3D printer
The normal choice for fixtures, housings and functional prototypes; enclosure needs vary by material.
Start typing to search machines, comparisons and answers.
3D printing · process guide
Build functional jigs, product enclosures and form studies layer by layer with a filament printer or print-capable hybrid.
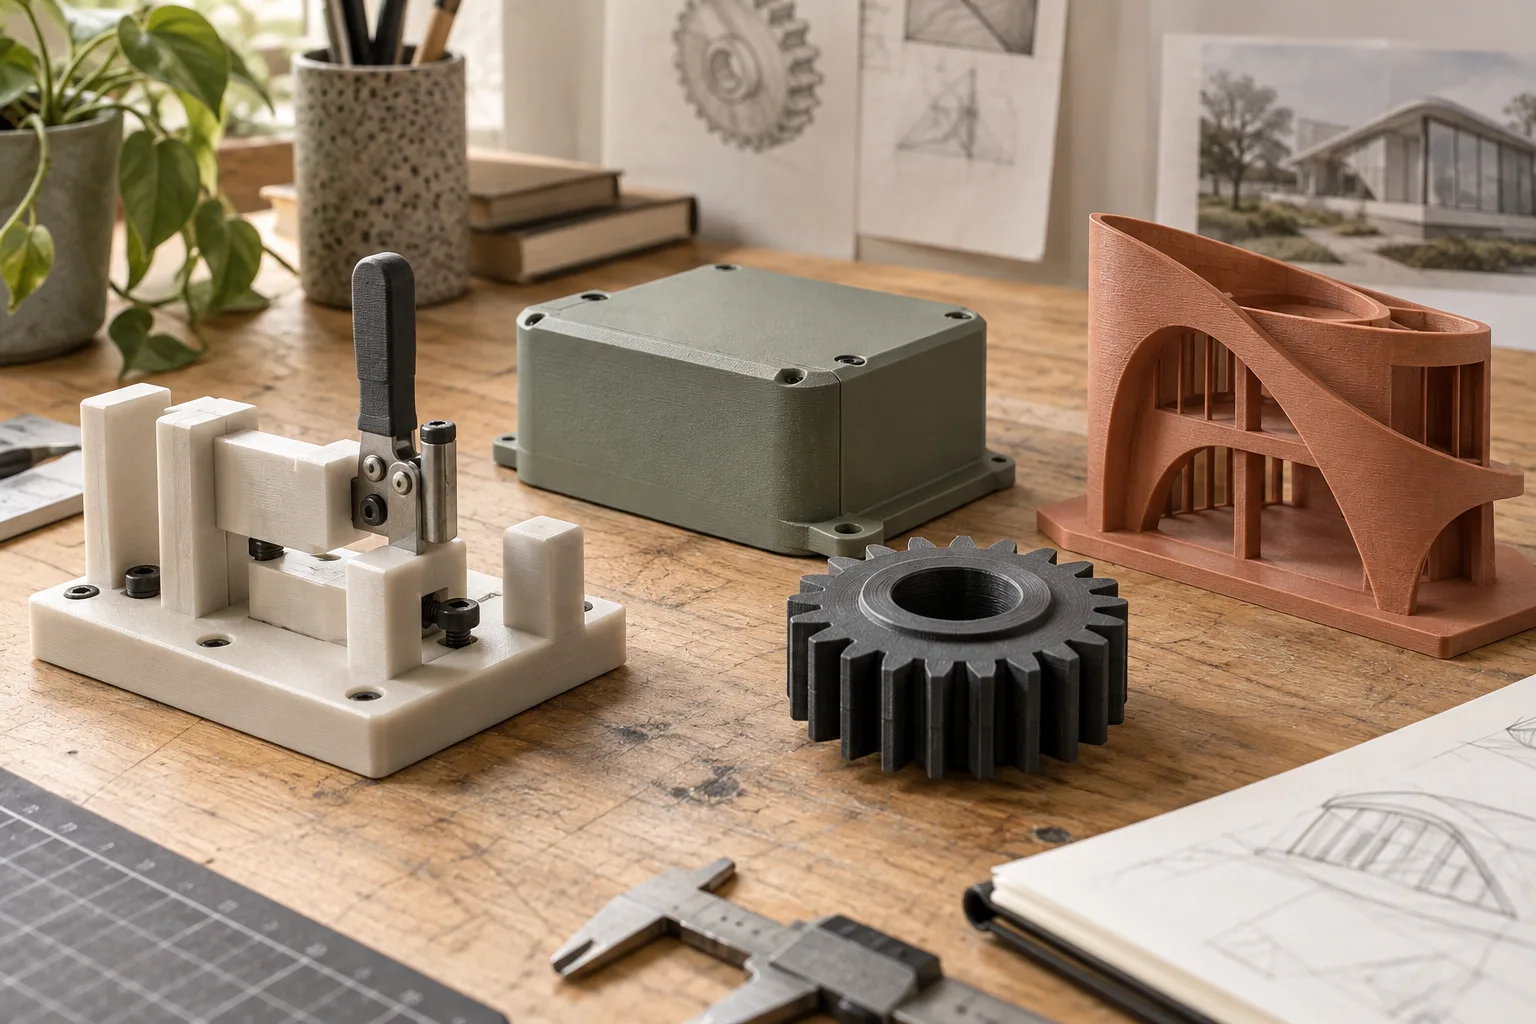
What the process does
Fused-filament fabrication turns a 3D model into stacked toolpaths. It is especially useful when internal geometry, one-off customization or rapid iteration matters more than a machined surface finish.
Material, layer direction, wall thickness and print temperature affect the result. Treat slicer profiles as starting points and validate a functional part under its real load and environment.
The workflow
Workflow reviewed 07 Oct 2026
Add realistic wall thickness, clearances and orientation-aware strength. Avoid unsupported geometry where practical.
Match the material to temperature, stiffness, impact and finishing needs; confirm printer and enclosure compatibility.
Select the printer and material profile, then set layer height, walls, infill, supports and bed adhesion.
Follow the printer and material guidance, use suitable ventilation and monitor the first layers and machine condition.
Remove supports, clean the part and test fit and function before treating it as a final fixture or enclosure.
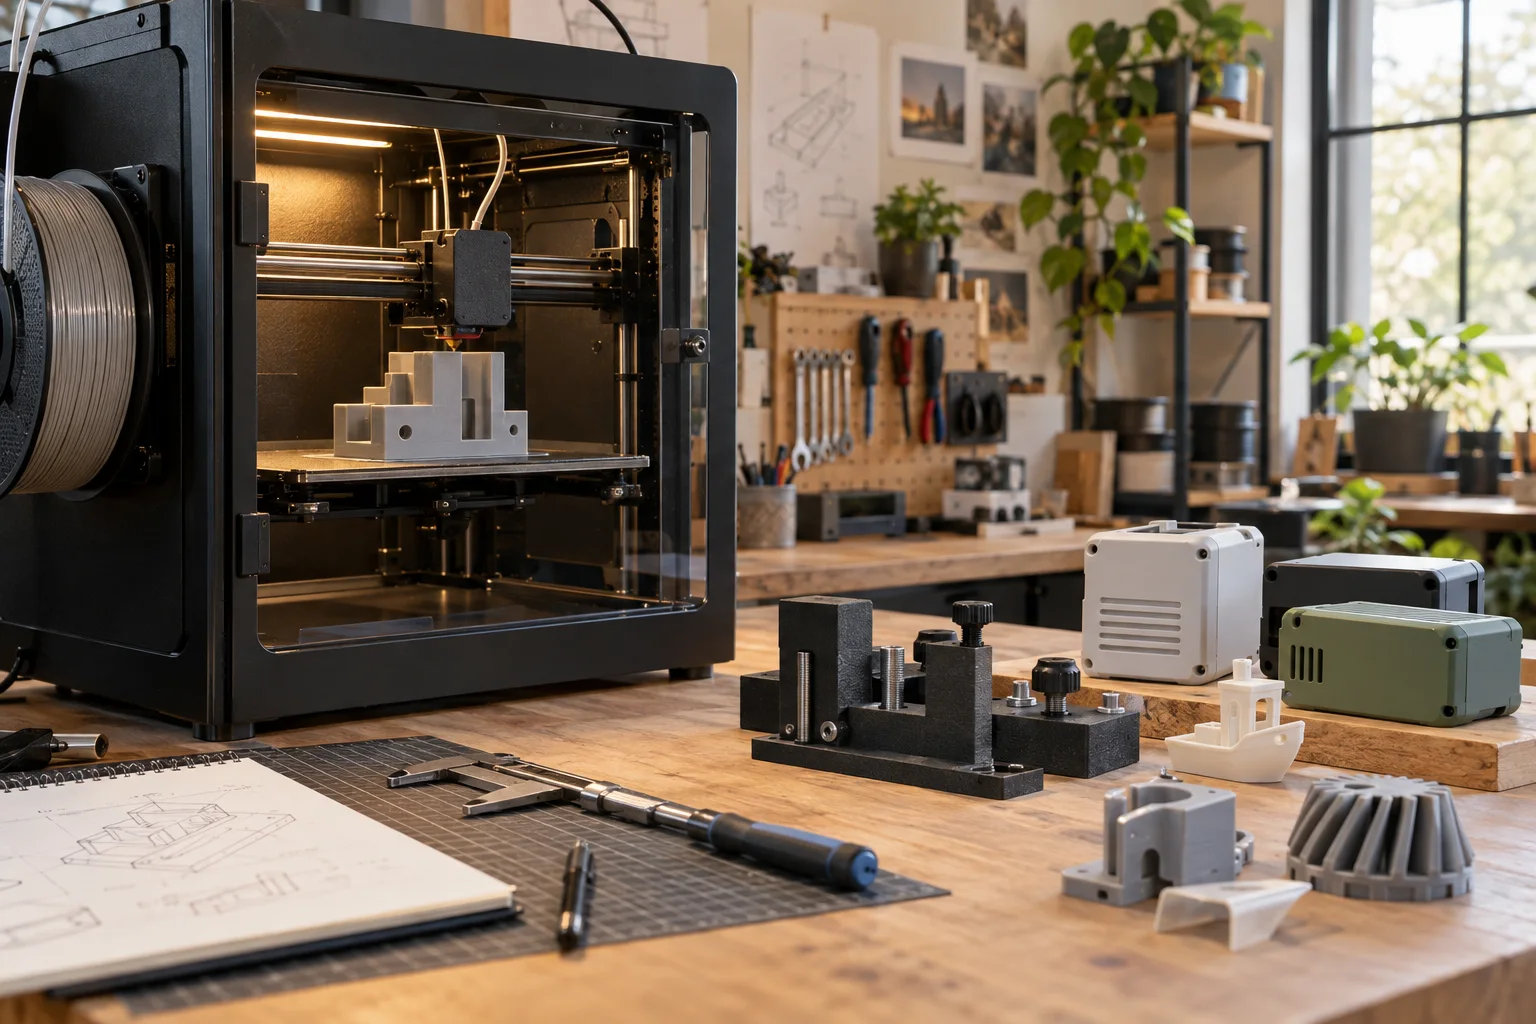
Choose the setup
The normal choice for fixtures, housings and functional prototypes; enclosure needs vary by material.
Combines printing with other processes but adds changeover and workflow complexity.
Converts the model into machine instructions using a printer- and material-specific profile.
Before you start
For makers selling online
A good product page starts after the first successful sample: test the exact material, record the setup and leave room for inspection and finishing.
Validate a representative print before publishing a delivery estimate.
State material and finish clearly instead of implying a material is universally suitable.
Batch identical parts only after the first layer, fit and cleanup workflow are repeatable.
Researched starting points
These are relevant machine types from the current Atlas, not a guarantee that every material, finish or tolerance is achievable.
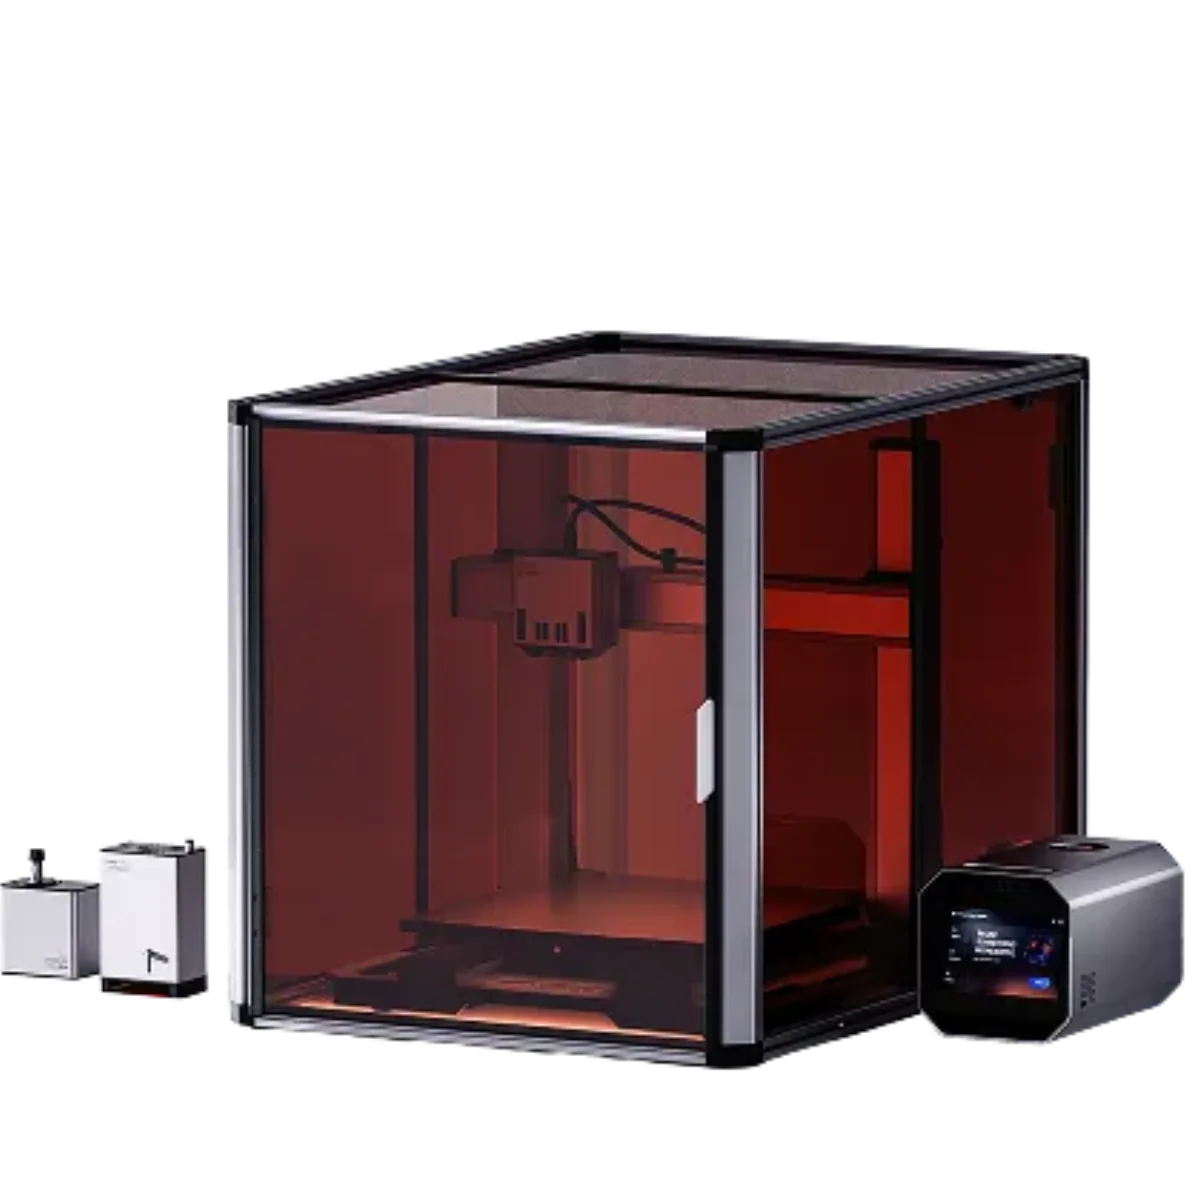
Hybrid
VerifiedSnapmaker
Snapmaker Artisan shares one large enclosure across dual-extrusion 3D printing, CNC carving and laser engraving.
View machinePrimary sources
Start here for process instructions, material limits and safety guidance. These links are editorial references, not affiliate links.
Prusa Research
Official model-to-slicer-to-G-code workflow. Official documentation checked 07 Oct 2026.
Prusa Research
Material properties and starting guidance. Official documentation checked 07 Oct 2026.
NIOSH
Official research-based guidance on emissions and ventilation controls. Official documentation checked 07 Oct 2026.
Snapmaker
Official setup and workflow documentation for the print-capable hybrid in this Atlas. Official documentation checked 07 Oct 2026.