Rigid 3-axis CNC
Needs enough Z travel, a suitable spindle and stable motion for long finishing passes.
Start typing to search machines, comparisons and answers.
3D CNC carving · process guide
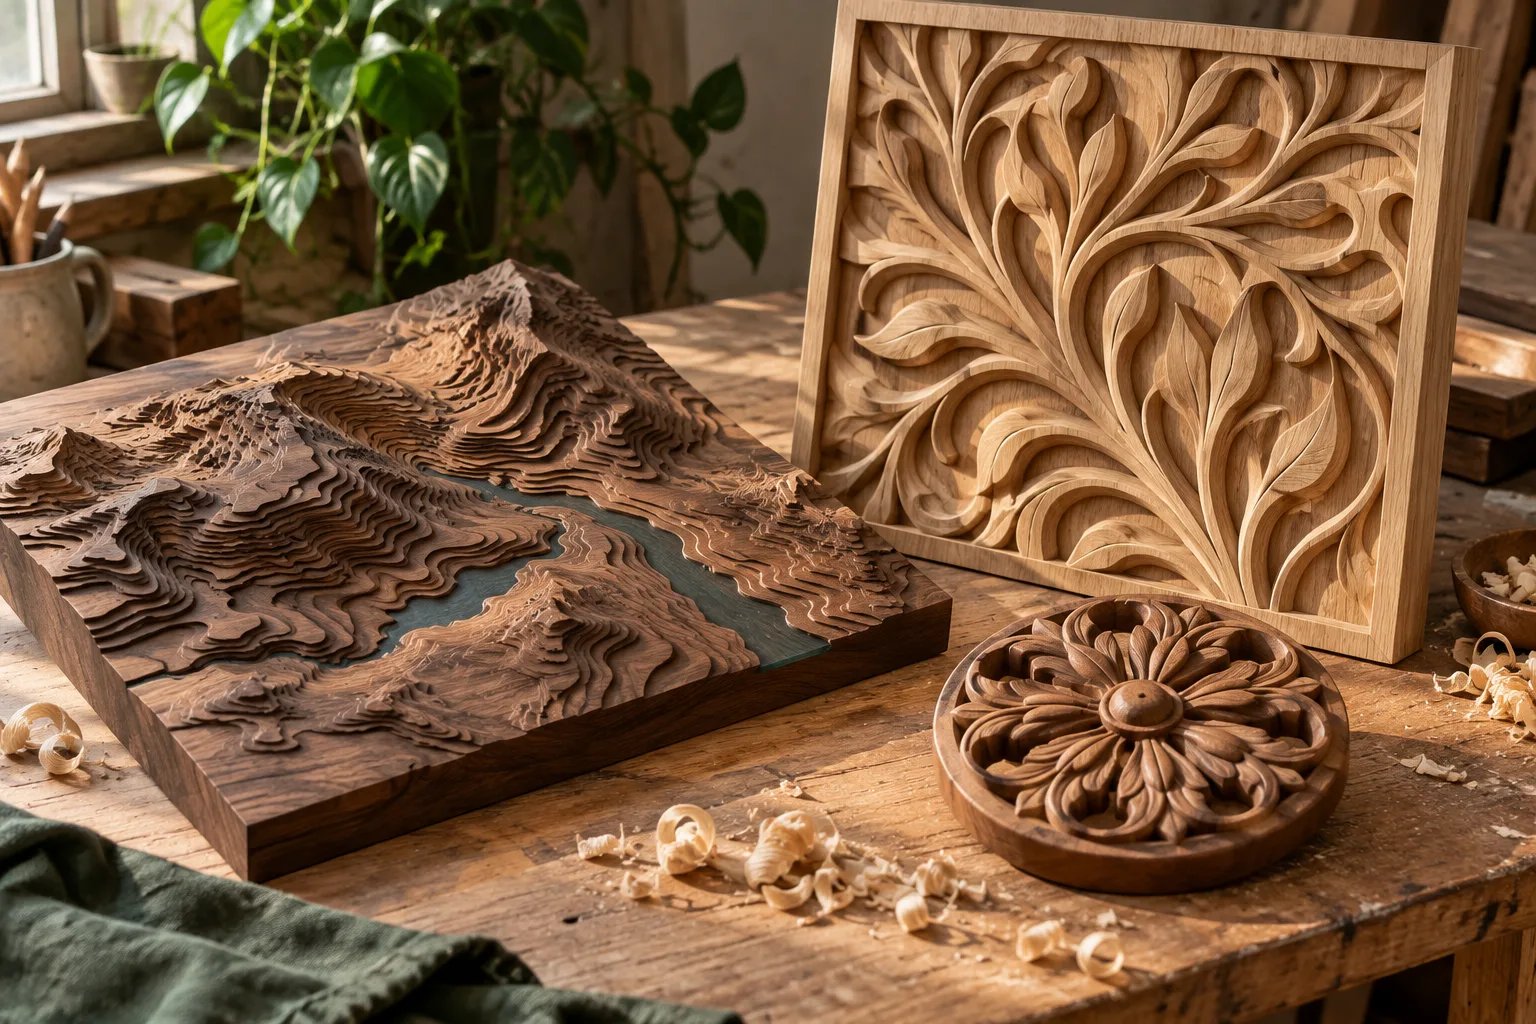
Machine topographic maps, decorative panels, molds and sculpted details from a digital surface model.
What the process does
A 3D relief uses varying Z depth rather than a single profile cut. CAM software calculates many closely spaced passes that approximate the digital surface.
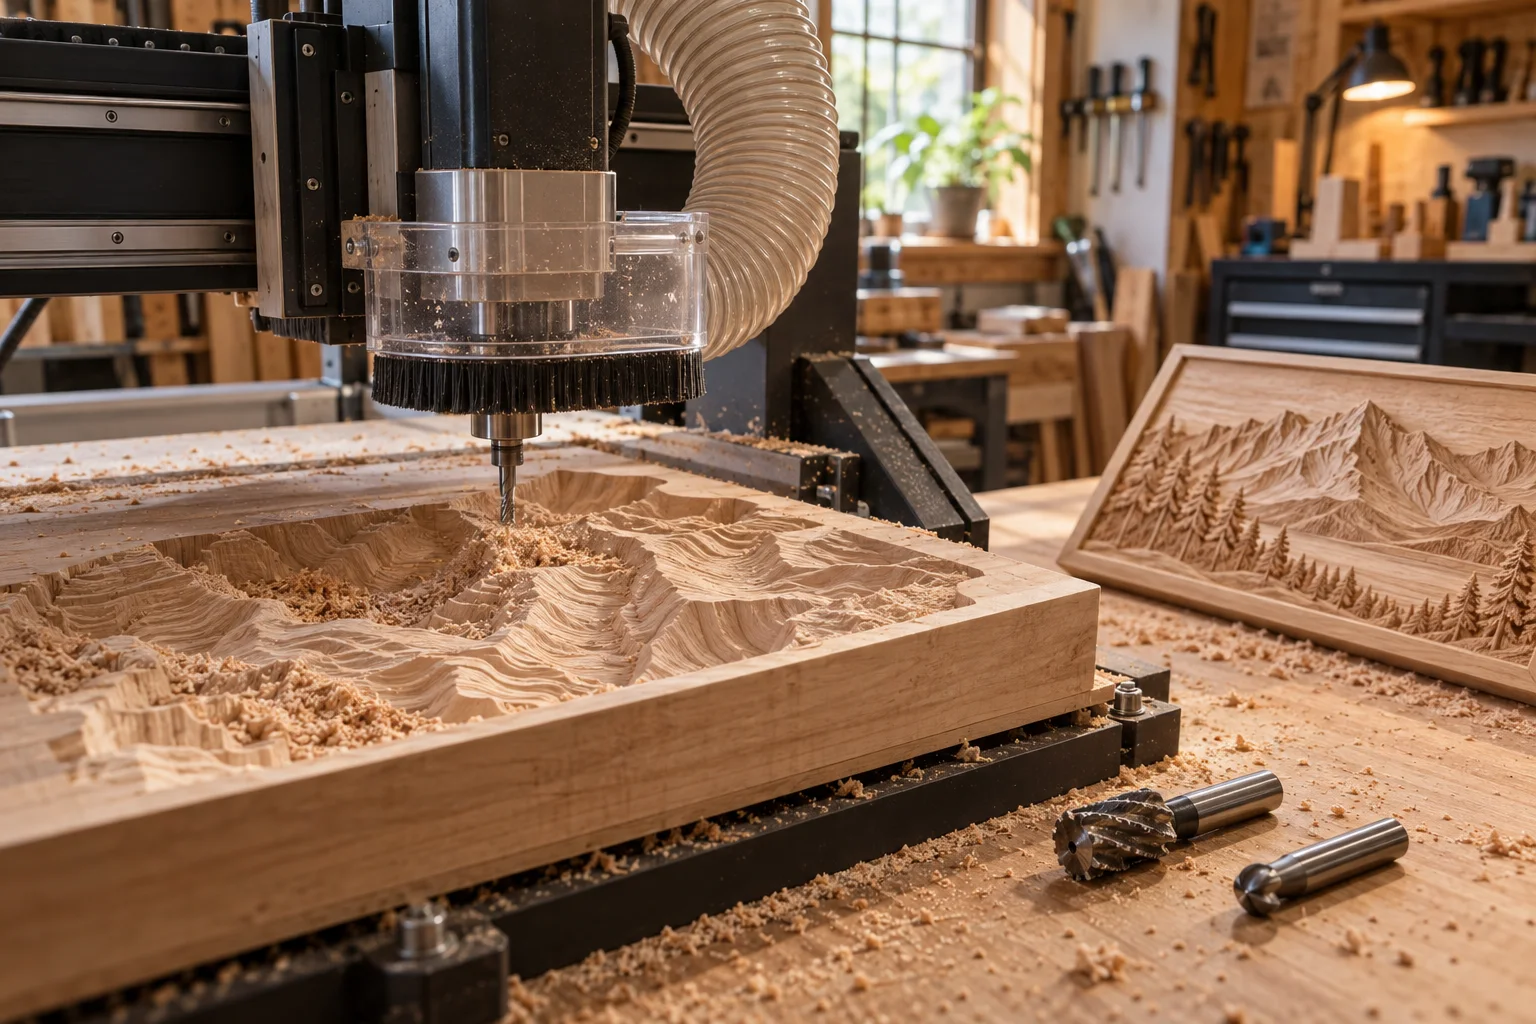
Most jobs use a fast roughing pass to remove bulk material and a slower finishing pass with a ball-nose cutter. Fine detail increases machine time quickly.
The workflow
Workflow reviewed 07 Oct 2026
Start with a height map, mesh or CAD surface that has the scale and maximum depth you can machine.
Allow extra material for holding and finishing. Orient the design so the cutter can reach critical areas.
Use a larger flat or radius cutter to remove most of the material while leaving a small finishing allowance.
Use a smaller ball-nose cutter and suitable stepover to resolve the surface without excessive machining time.
Clean fibers or machining marks without erasing the intended relief, then apply a compatible finish.
Choose the setup
Needs enough Z travel, a suitable spindle and stable motion for long finishing passes.
Must support roughing and finishing strategies for meshes or sculpted surfaces.
Especially important for long wood-carving jobs; use the controls and extraction recommended for the machine and material.
Before you start
For makers selling online
A good product page starts after the first successful sample: test the exact material, record the setup and leave room for inspection and finishing.
Estimate price from roughing, finishing, sanding and tool wear.
Keep grain direction and stock variation in mind when photographing examples.
Use a repeatable zeroing and workholding method before offering batches.
Researched starting points
These are relevant machine types from the current Atlas, not a guarantee that every material, finish or tolerance is achievable.
Desktop CNC
VerifiedMakera
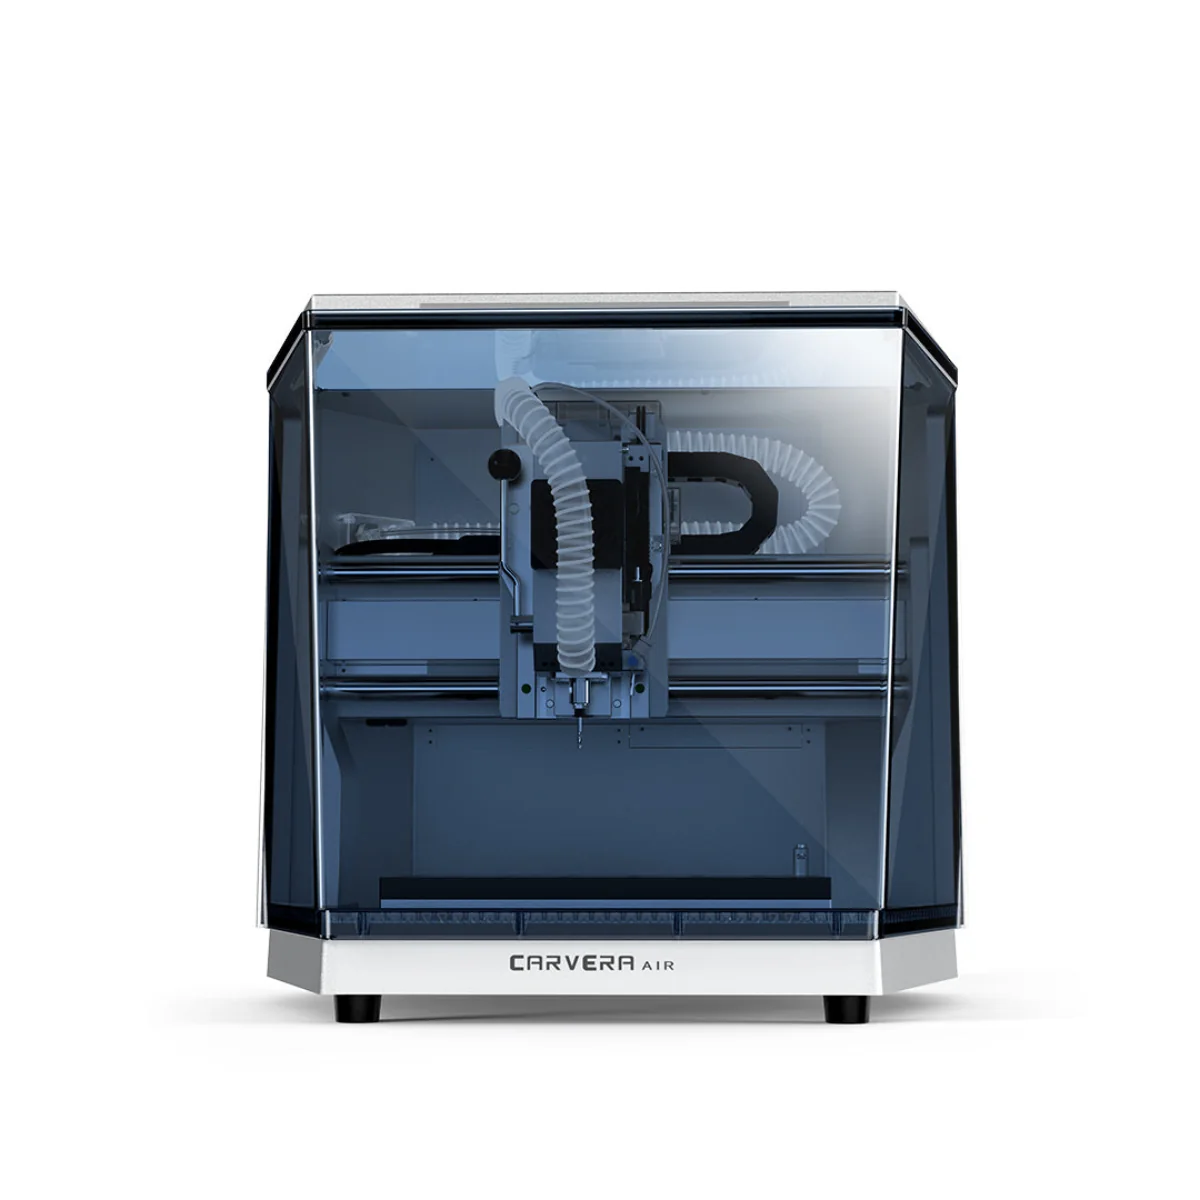
Carvera Air packs automatic probing and tool changing into an enclosed CNC sized for a compact workshop.
View machine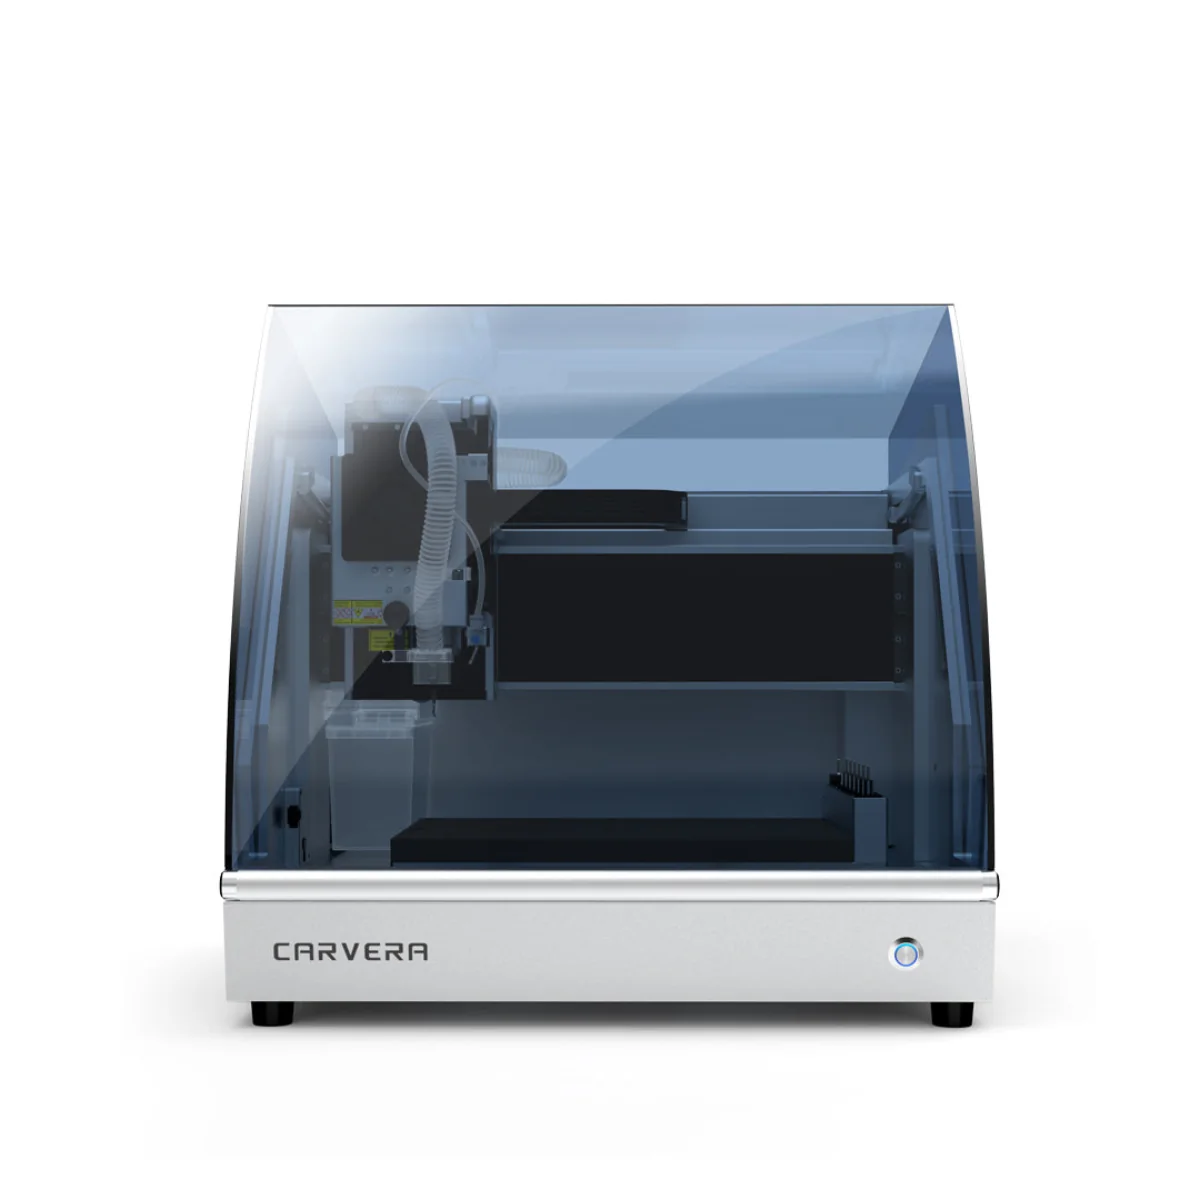
Desktop CNC
VerifiedMakera
Carvera adds a larger work area and optional fourth-axis machining to Makera’s enclosed, automated CNC format.
View machine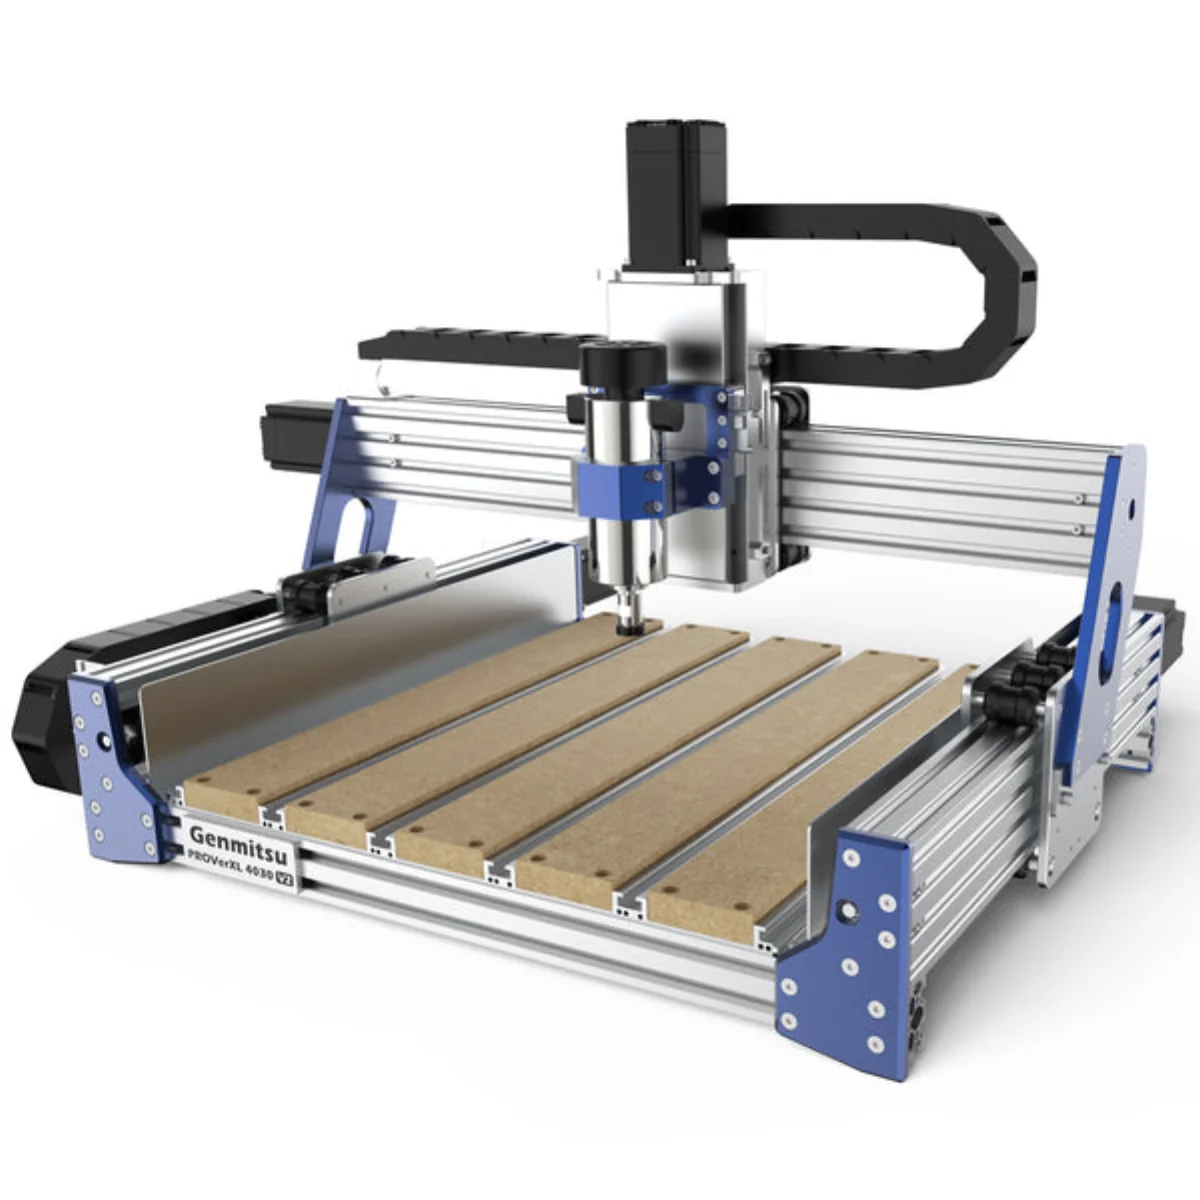
Desktop CNC
VerifiedGenmitsu
PROVerXL 4030 V2 trades an enclosure for more work area, easier access and room to upgrade the frame or spindle.
View machine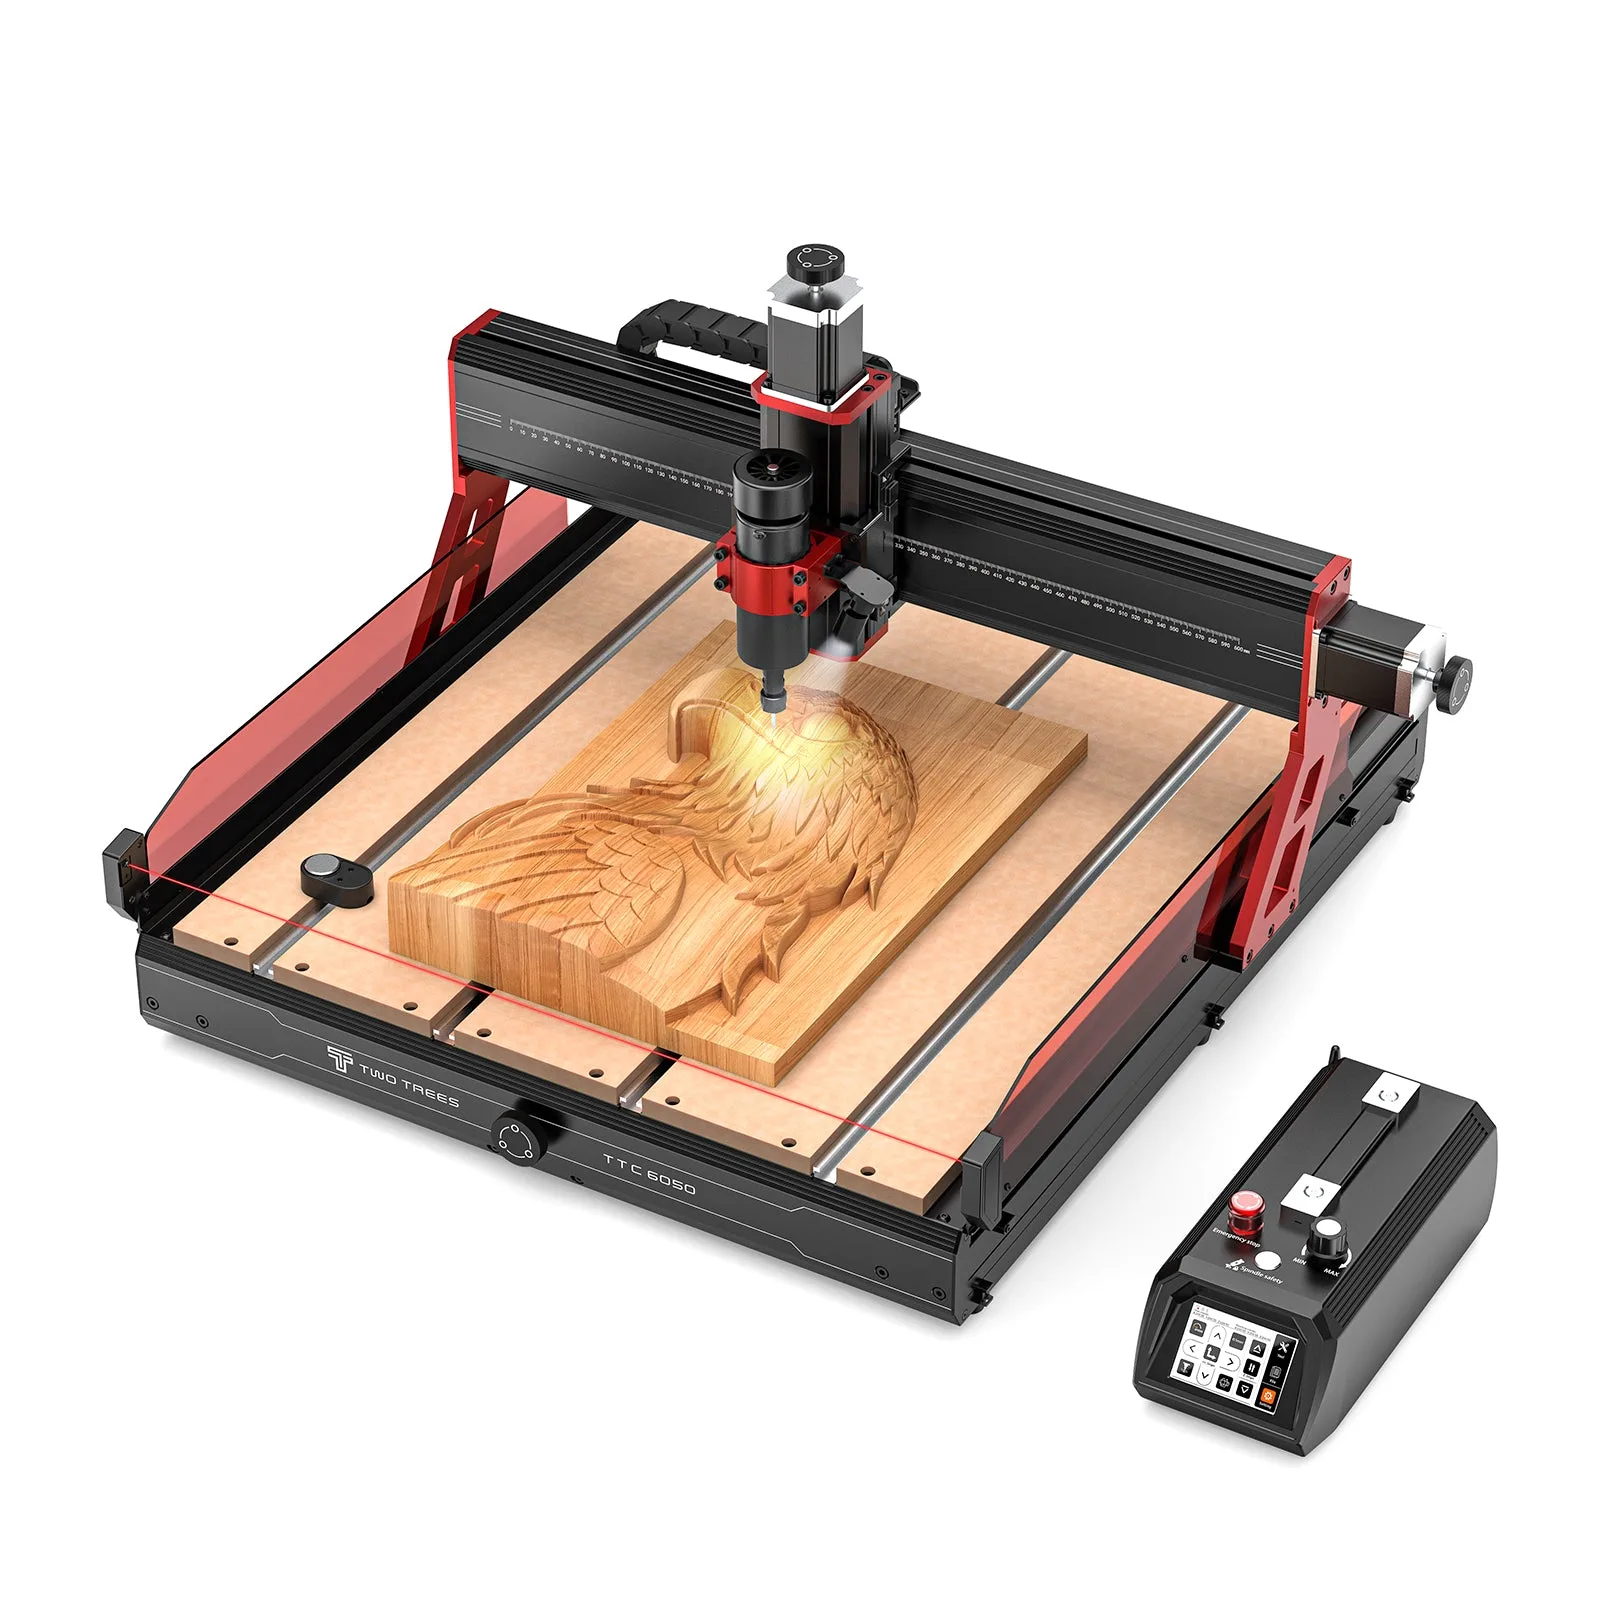
Desktop CNC
VerifiedTwoTrees
TwoTrees TTC6050 offers a 600 × 500 × 100 mm work area, ball-screw motion and a 500 W spindle for makers who value capacity over enclosure.
View machineContinue your research
Choose a compact CNC by enclosure, footprint, noise, extraction, setup time and the parts you actually need to make.
Compare desktop CNC machines for repeatable small batches by automation, workholding, containment, spindle capability and complete setup cost.
Primary sources
Start here for process instructions, material limits and safety guidance. These links are editorial references, not affiliate links.
Carbide 3D
Official introduction to creating 3D CNC toolpaths. Official documentation checked 07 Oct 2026.
Carbide 3D
Worked roughing and finishing workflow. Official documentation checked 07 Oct 2026.
Autodesk Fusion
Official CAM steps for projecting geometry onto a 3D surface. Official documentation checked 07 Oct 2026.